
 Use Photoshop to create and add a dramatic ray of light to your photos. It's easy, accurate, and fun!
Finding and Identifying the Light Source
Before we can create the ray of light, we need to separate the bright areas from the image.
Step 1
Open a photo you would like to edit. Or, you may use the photo used in this tutorial (from iStockPhoto).
Step 2
Before we start, we need to duplicate the layer (Layer> Duplicate or Ctrl+J).
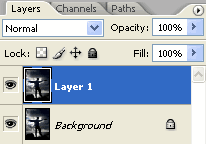
Step 3
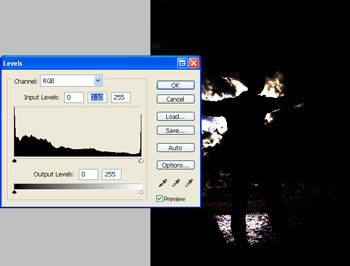
To find and separate the light source in the photo, we'll use the Levels tool (Image> Adjustment> Levels or Ctrl+L). Drag the middle input slider all the way to the left.
Forming the Ray of Light
Step 4
Now that we have the light source identified, we can distort it into a ray of light. For this process, we'll use the Radial Blur filter (Filter> Blur> Radial Blur) with these properties set:
Amount: 100
Blur Method: Zoom
Quality: Best
After you have those properties set, click and drag the blur center to the area where you would like the ray of light to zoom out from.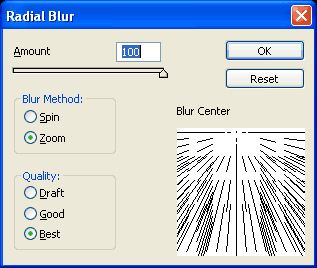
Step 5
You'll notice that there are visible speckles on the ray of light. Don't worry about it, we can simply apply the filter two more times and most of it will be gone. Press Ctrl+F to redo the previous filter again. After the filter has been processed, press Ctrl+F again to redo the previous filter once more. In total, you'll have pressed Ctrl+F twice.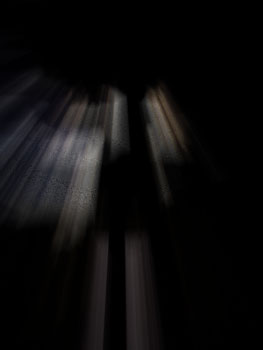
Blending and Enhancing the Ray of Light
Step 6
Now that we have our ray of light created, we can blend it into the image by changing the blending mode of the current layer to Screen.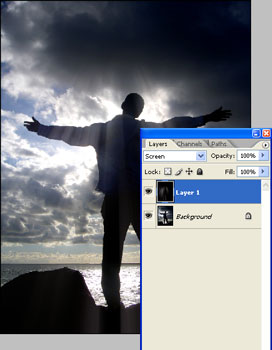
Step 7
The ray of light is blended into the photo but it doesn't seem very strong. To increase the visibility of the ray of light, we'll use the Levels tool (Image> Adjustments> Levels or Ctrl+L). Drag the right input slide towards the left to increase visibility. You may also press the Auto button to have Photoshop automatically set it to an appropriate level.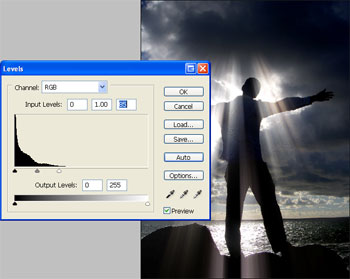
Step 8
If you are working with a large image, you may notice that there are more speckles on the ray of light. To remove this, we'll use the Despeckle filter (Filter> Noise> Despeckle). Press Ctrl+F to repeat the filter until the speckles disappear. Use Despeckle filter sparingly because it will blur the ray of light.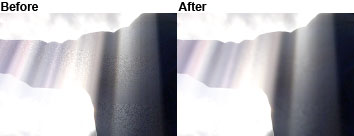
Step 9
Now we need to erase the areas that the ray of light shouldn't visible at. To do this, we'll need to add a layer mask. Add a layer mask to the top layer (Layer> Layer Mask> Reveal All) and click on the thumbnail of the layer mask to ensure it has been selected.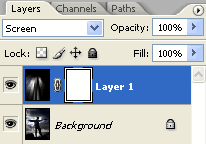
Step 10
With the layer mask selected, use the Eraser tool (E) to erase the areas where the light shouldn't appear. 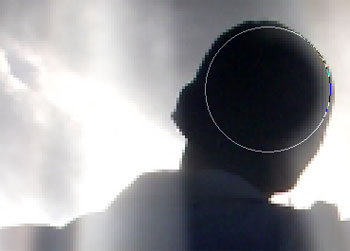
Step 11
To emphasize the colors of the ray of light, use the Hue/Saturation tool (Image> Adjustments> Hue/Saturation or Ctrl+U) to increase the saturation. Before you can use the Hue/Saturation tool, you need to click on the thumbnail of the ray of light layer.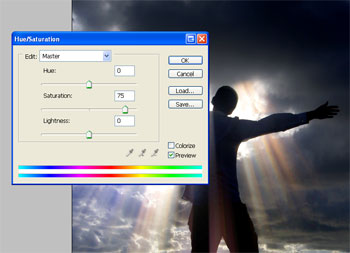
Final Results
Rollover the images below to see the before and after effect.

5 comments:
Excellent tutorial. Very detailed, concise, and beginner friendly. Keep up the good work!
Great work :-)
the leg looks bad
Nice tutorial! Simple but effect. Thanks!
Wow! Great tutorial image manipulation service is one of the best Clipping path service provider around the world. We offer our global customers: image masking, clipping path, background removal service, shadow creation Service, Jewelry Photo, Retouching Services, Color Correction Service, Image e-commerce business Service...
Post a Comment